Microwave Strawberry Jam Recipe
Introduction
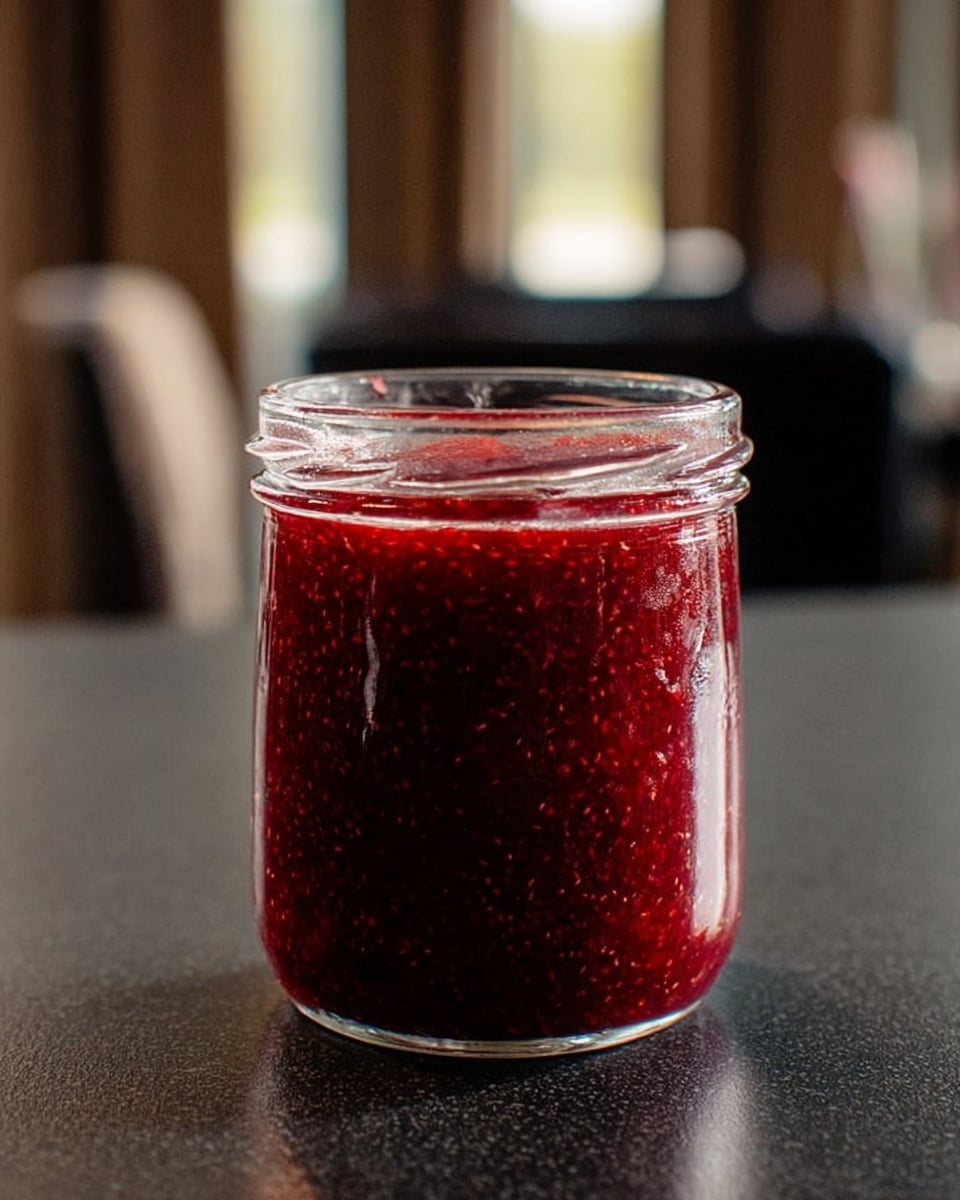
Making homemade strawberry jam is easier than you might think, especially with the help of your microwave. This quick recipe transforms fresh strawberries into a sweet, tangy spread perfect for toast, desserts, or gifts.
Ingredients
- 500 grams fresh strawberries
- 1 1/2 cups granulated sugar
- Juice of 1 1/3 lemons
Instructions
- Step 1: Place the fresh strawberries into a large microwave-safe bowl. Add the granulated sugar and lemon juice, then stir to combine. Microwave the mixture uncovered on high for 4 minutes.
- Step 2: Carefully remove the bowl and stir the mixture. Return it to the microwave and cook on high for another 15 minutes. Meanwhile, place a small plate in the freezer to chill for testing the jam’s consistency.
- Step 3: Take the bowl out again and stir well. Spoon a small amount of jam onto the chilled plate and return the plate to the freezer for 2 to 3 minutes.
- Step 4: Run your finger through the jam sample on the plate. If it is still too runny, microwave the jam for a few more minutes and test again until it thickens.
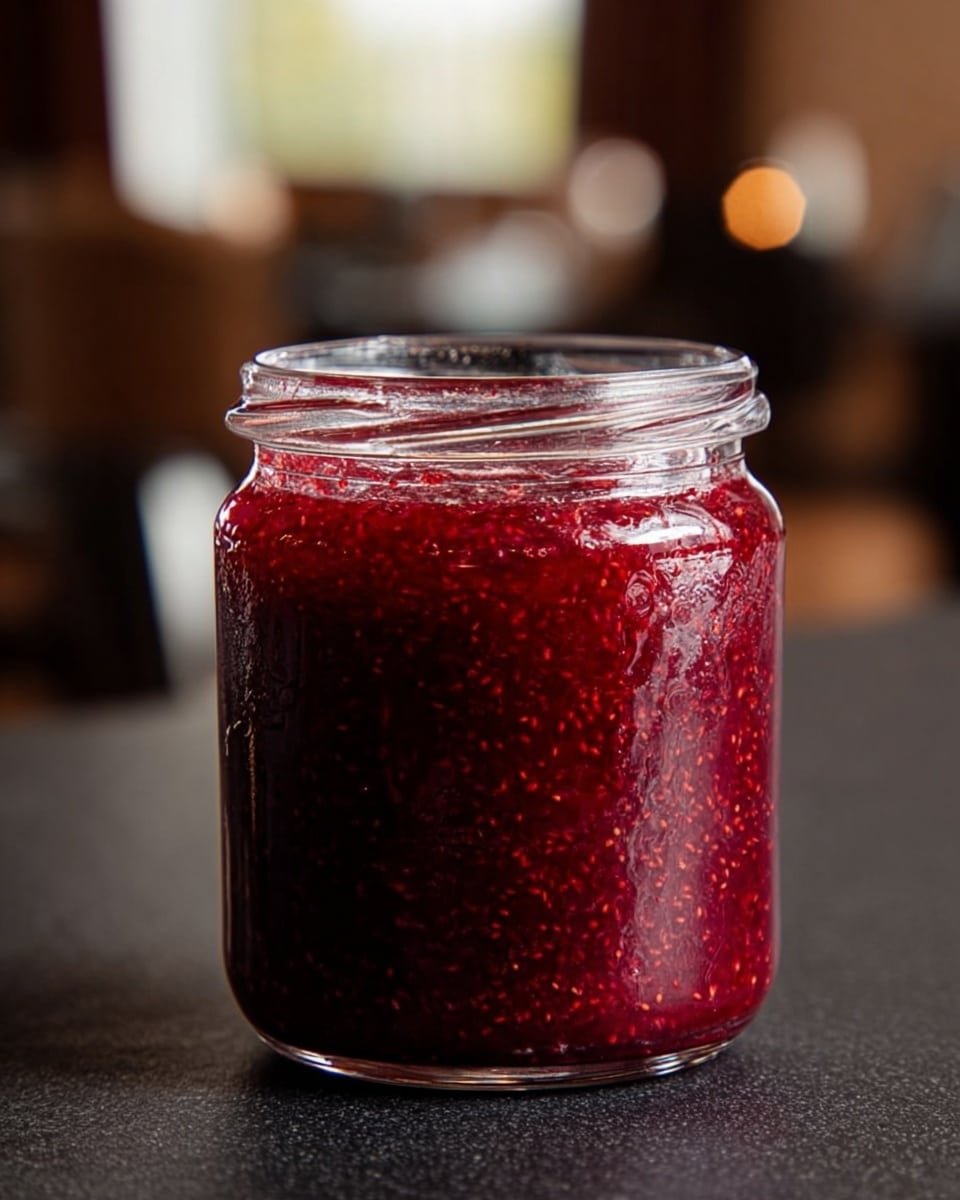
- Step 5: Once set, spoon the jam into a sterilized jar. Seal with a lid, let it cool to room temperature, then refrigerate or serve.
Tips & Variations
- Use ripe but firm strawberries for the best texture and sweetness.
- Adjust the lemon juice slightly for a more or less tangy flavor.
- For a smoother jam, mash the strawberries lightly before cooking.
- Add a splash of vanilla extract after cooking to enhance flavor.
Storage
Store the jam in a sealed sterilized jar in the refrigerator for up to 2 weeks. For longer storage, freeze the jam in airtight containers for up to 3 months. Reheat gently or bring to room temperature before serving.
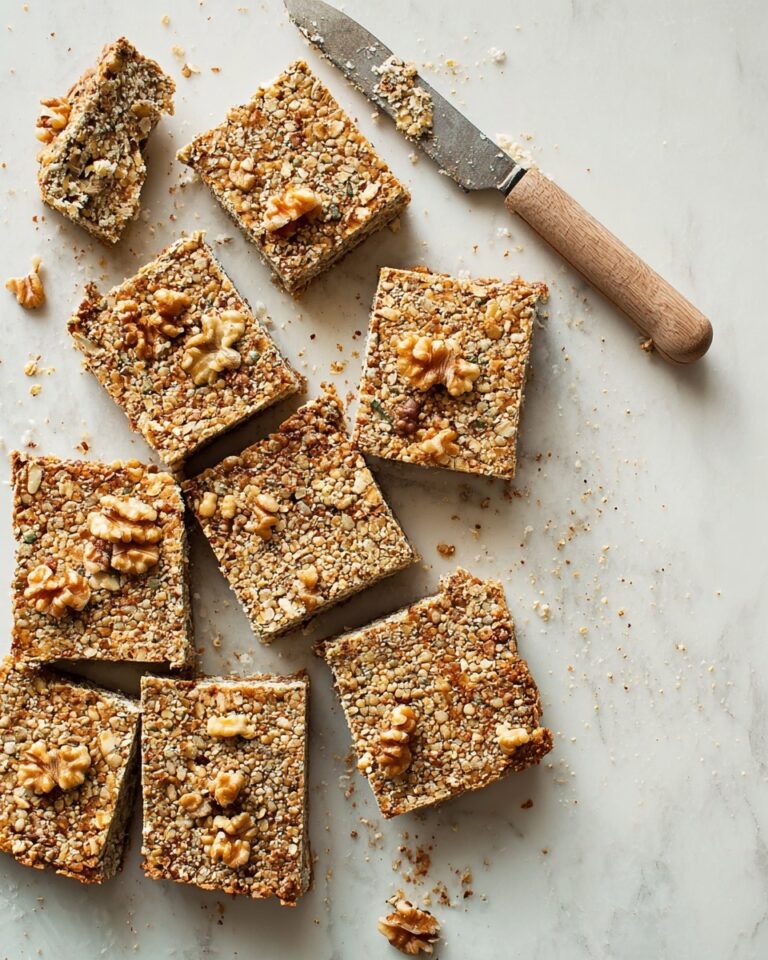
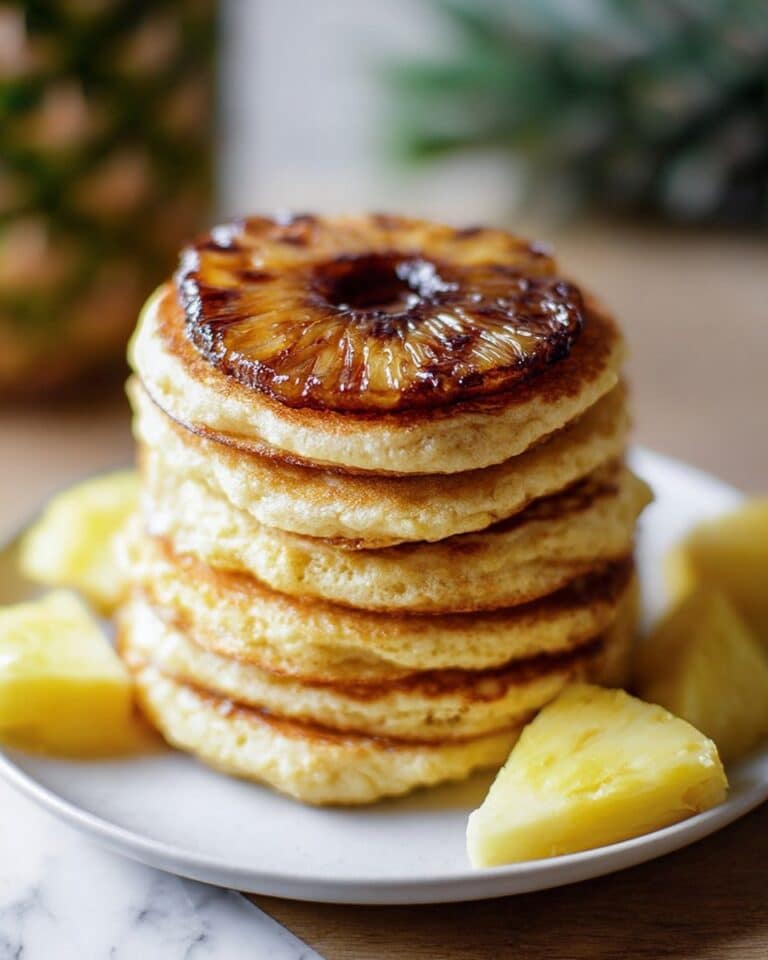
How to Serve
Serve this delicious recipe with your favorite sides.
FAQs
Can I use frozen strawberries instead of fresh?
Yes, frozen strawberries work well. Thaw them first and drain any excess liquid before following the recipe.
How do I sterilize jars for the jam?
Wash jars and lids in hot soapy water, rinse well, then heat them in boiling water for 10 minutes or in a warm oven before filling with jam.
Print
Microwave Strawberry Jam Recipe
- Total Time: 29 minutes
- Yield: About 2 cups of jam 1x
- Diet: Vegetarian
Description
This Microwave Strawberry Jam recipe is a quick and easy way to make delicious homemade jam using fresh strawberries, sugar, and lemon juice, all cooked conveniently in your microwave. Perfect for spreading on toast or adding to desserts, this method bypasses the traditional stovetop process and reduces cooking time significantly.
Ingredients
Ingredients
- 500 grams Fresh Strawberries
- 1 1/2 cups Granulated Sugar
- Juice of 1 and 1/3 Lemons
Instructions
- Combine Ingredients: Place 500 grams of fresh strawberries into a large microwave-safe bowl. Add 1 1/2 cups of granulated sugar and the juice from 1 1/3 lemons. Stir all ingredients together thoroughly to combine.
- Microwave Cooking Part 1: Put the uncovered bowl into the microwave and cook on high for 4 minutes. This will start releasing the juice from the strawberries and dissolving the sugar.
- Stir and Continue Cooking: Carefully remove the bowl and stir the mixture well. Then return it to the microwave and cook on high for an additional 15 minutes.
- Prepare Jam Test Plate: While the jam is cooking, place a small plate into the freezer to chill. This plate will be used to test the jam’s consistency.
- Test Jam Consistency: Take the bowl out carefully and stir the jam again. Spoon a small amount of the hot jam onto the chilled plate and place it back into the freezer for 2 to 3 minutes. After chilling, run your finger through the sample to check if it has set properly.
- Adjust Cooking if Needed: If the jam is still too runny, return it to the microwave and cook for a few more minutes before repeating the test until the desired consistency is reached.
- Jar the Jam: Once the jam is set, spoon it into a sterilized jar. Seal with a lid and allow it to cool to room temperature before serving or storing it in the refrigerator.
Notes
- Use ripe, fresh strawberries for the best flavor and natural sweetness.
- Ensure your microwave-safe bowl is large enough to prevent spillovers during cooking.
- Sterilize jars thoroughly by boiling them or running them through a dishwasher cycle before filling.
- Jam will thicken further as it cools, so do not overcook it to avoid a hard texture.
- Store the jam in the refrigerator and consume within 2-3 weeks for best quality.
- Prep Time: 10 minutes
- Cook Time: 19 minutes
- Category: Condiment
- Method: Microwaving
- Cuisine: American
Keywords: strawberry jam, microwave jam, homemade jam, quick jam recipe, easy strawberry jam


